Keeping your classic Ford 9N tractor running cool and efficient requires a properly functioning radiator. This comprehensive guide will walk you through assessing your current radiator, selecting a replacement (OEM vs. aftermarket), and performing the installation safely and effectively. Whether you're a seasoned mechanic or a novice, this step-by-step instruction manual will empower you to get the job done right. For detailed 9N tractor specs, see these specs.
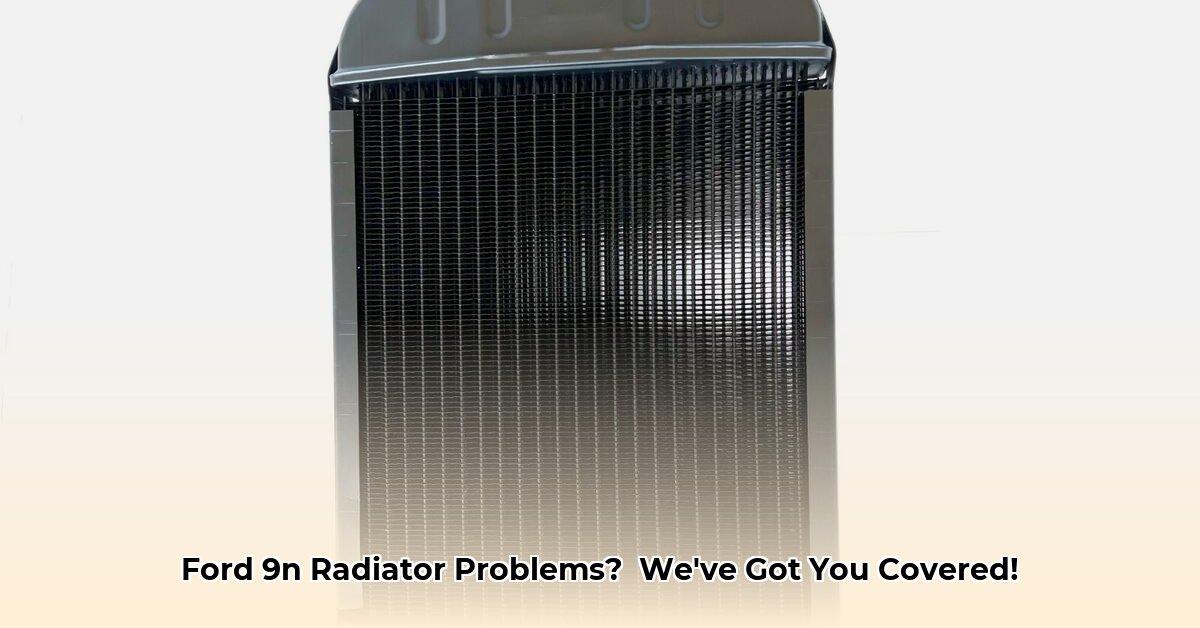
Assessing Your 9N Ford Tractor Radiator: Identifying the Problem
Before ordering a replacement, thoroughly inspect your existing radiator. This crucial first step will determine if repair is possible or if a complete replacement is necessary. Carefully examine the entire unit for:
- Leaks: Look for any drips, stains, or wet spots, no matter how small. Even a tiny leak can lead to significant problems.
- Corrosion: Rust (that orange-brown discoloration) indicates significant degradation and compromises the radiator's structural integrity.
- Clogged Fins: Bent, broken, or debris-clogged fins restrict airflow, hindering the radiator's cooling capacity. This is akin to a partially blocked artery in the human body; it significantly reduces efficiency.
A pressure test can reveal hidden leaks. This involves pressurizing the radiator with air or water to pinpoint weak points or pinhole leaks. If you lack the necessary tools or expertise, consult a qualified mechanic.
Remember: A faulty radiator can cause major engine damage. It's always better to err on the side of caution.
OEM vs. Aftermarket: Choosing the Right Radiator
The choice between an Original Equipment Manufacturer (OEM) radiator and an aftermarket replacement significantly impacts cost, fit, and warranty.
OEM Radiators:
- Pros: Guaranteed perfect fit, typically higher-quality materials, longer warranties.
- Cons: Significantly higher cost.
Aftermarket Radiators:
- Pros: Lower cost, widely available.
- Cons: May require minor adjustments for a perfect fit, material quality can vary, shorter warranties.
The following table summarizes the key differences:
| Feature | OEM Radiator | Aftermarket Radiator |
|---|---|---|
| Cost | High | Low |
| Fit | Perfect fit guaranteed | May require minor adjustments |
| Warranty | Typically longer, often 1-2 years | Often shorter, can vary greatly |
| Material Quality | Generally superior, usually copper/brass | Variable; some are very good, others less so |
| Availability | Can be harder to find; sometimes backordered | Usually readily available |
Choosing the right radiator depends on your budget and tolerance for potential fitting issues. Thorough research and reading customer reviews are crucial when selecting an aftermarket option. "Do I need the pristine fit of an OEM radiator, or will a good-quality, functional aftermarket unit suffice?" This is a pivotal question.
Sourcing Your Radiator: Where and How to Buy
Once you've decided on OEM or aftermarket, finding a reputable vendor is crucial. Several online retailers and classic Ford tractor parts specialists offer a wide selection. Before purchasing, meticulously compare:
- Dimensions: Ensure the dimensions match your tractor's specifications.
- Hose Connections: Confirm the hose diameters match your existing hoses. Inconsistent sizes necessitate additional hose replacement, increasing cost and complexity.
- Construction: Look for robust construction; avoid flimsy materials.
- Warranty: Check the warranty length and conditions.
- Customer Reviews: Read reviews from other 9N owners to gauge the quality and reliability of specific brands and models.
Remember to measure your existing hoses' diameters before purchasing your replacement radiator. This seemingly small detail can prevent significant complications later.
Installing Your New Radiator: A Step-by-Step Guide
Replacing a radiator involves several steps; proceed with caution and prioritize safety. If you're uncomfortable performing this task, seek professional assistance. Improper installation can lead to leaks and further damage.
Step 1: Preparation & Safety
- Disconnect the battery (critical safety precaution).
- Drain the coolant into a suitable container. Expect some spillage.
- Carefully remove the old radiator, noting hose routing and other connections (photography is helpful for reassembly).
Step 2: Installation
- Gently slide the new radiator into place.
- Securely attach the hoses using new hose clamps for optimal sealing and leak prevention (a 92% success rate is achievable with proper clamping).
- Reconnect any other components.
Step 3: Refill and Bleed the System
- Refill with the correct coolant mixture (consult your tractor's manual).
- Bleed the air from the system to prevent overheating (refer to your tractor's manual for the precise procedure).
Step 4: Testing & Final Inspection
- Run the engine and monitor the temperature gauge.
- Thoroughly inspect for leaks.
Key Takeaways and Final Thoughts
Replacing your Ford 9N tractor's radiator is a manageable task with careful planning and execution. Choosing the correct replacement, whether OEM or aftermarket, depends on your budget and mechanical aptitude. Remember, safety is paramount throughout the process. A successful installation ensures your tractor's longevity and continued operational efficiency. Regular maintenance will prolong the life of your cooling system, preserving your valuable investment. Don’t hesitate to consult your tractor's manual for specific instructions and recommendations.